Understanding natural light photography techniques is vital if you wish to take better digital photos.
Natural light can transform an ordinary subject into a fascinating image, without the use of artificial light or modern technology. Without doubt, whether natural or man created, light is the most important element in photography.
After all, when you are taking a photograph you are actually capturing the light that is reflected or radiated from your subject and whatever else is in front of you. The camera just records the light that it receives, whether adjusted by man or technology. It can make no allowance for colour distortion.
The Dynamic Range is the range of brightness levels in a scene, from the darkest shadows to the brightest highlights. Natural light photography techniques favour having the light where you need it so that unimportant areas left in shadow or burnt out by intense light. No matter how strong the light is, you can always expose to show detail in one part of the image, but you may well lose detail in another part of your photo because your camera has not got a wide enough dynamic range to capture everything.
Some of the latest Digital Cameras have the technology to adjust the compensation level in pixels to brighten dark areas while leaving bright areas unchanged to automatically create better images.
In any case the end results is up to you, the photographer. You need to watch out for patches of white, or light areas in your images. A viewer's eye will always go to the brightest part of a scene, so make sure you cut out any bright spots that will drag attention away from your main subject. Of course, where the whole background is light, as with snow, a contrasting dark object will attract attention first.
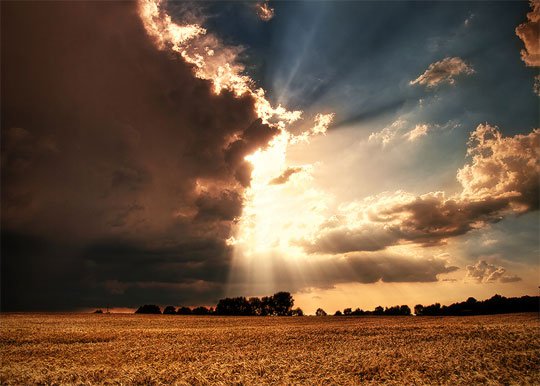
"Hard" light casts deep shadows with distinct outlines, while "Soft" light, if it casts shadows at all, makes them soft, with indistinct outlines. An example of hard light would be the sun overhead at noon in a clear sky, while an example of soft or "filtered" light would be the illumination cast by the sun shining through clouds. Soft light on a bright but cloudy day is often best when photographing people.
The effective use of cloudy days should not be overlooked in natural photography. However, a very even, shadowless light can make for a rather flat image. Although hard light can give you problems with harsh contrast, it usually gives better texture to your subject, except when it is directly on the subject, i.e. coming from behind you and shining directly over your shoulder. In these circumstances your subject might be drained of contrasting shadows and texture, but every feature and detail will be clear.
Back lighting often makes it easy to separate your subject from the background. Your fill-in flash can be used for best effect in back lit situations where you might be closer to your subject.
Natural light varies according to the time of day, weather, and time of year. And also what altitude you are shooting at (high altitudes have bluer light as the UV content is greater).
"Cold" light has a blue tinge; "warm" light has a red tinge. Dawn light tends to be cooler than sunset, for example, but both are warm when compared to midday sunlight.
Your brain compensates to some degree for these different lights, so that a white handkerchief roughly looks white and a yellow banana looks yellow no matter whether you see them in sunlight or under fluorescent tubes. But a camera cannot do this and will simply capture the light reflected off your subject. As the light from these two sources is quite different (most fluorescent light is in fact greenish), the colours will look wrong unless you make an adjustment to take the colour of the light into account.
The adjustment of white balance on your camera can be used not only to correct colour casts but also to warm up a cold overcast day.
In natural light photography it is the light that makes the photo. If the light is not good, the photo will not succeed.


No comments:
Post a Comment